
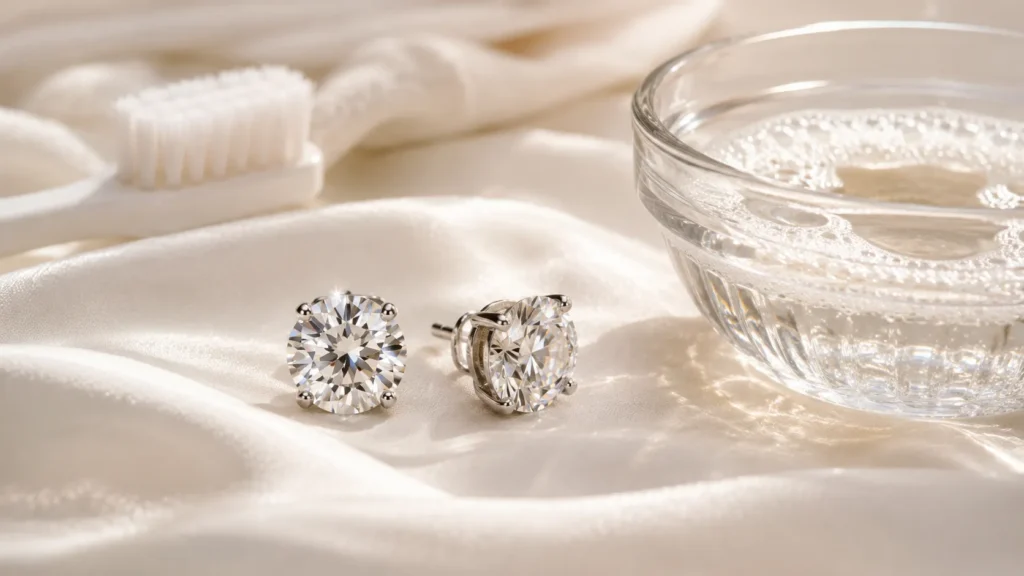
If your diamond earrings have lost their sparkle, you’re not imagining it. Everyday exposure to lotion, perfume, hairspray, sweat, and natural skin oils builds up on the surface of a diamond and around its setting, dulling the way light passes through and reflects off the stone. The good news is that this buildup is almost always cosmetic, not damage — and it can usually be removed safely at home in under half an hour, with things you already have in your kitchen.
This guide walks through the safest home cleaning method, what to avoid, when an ultrasonic cleaner is (and isn’t) a good idea, and how to keep your earrings sparkling between cleanings.
The Simple Cleaning Routine
Why Diamond Earrings Lose Their Shine
Diamonds are the hardest known natural material, so it’s rarely the stone itself that’s the problem. What actually happens is that diamonds are naturally oleophilic — they attract oil — which means everyday residues cling to the surface of the stone and collect in the tiny gap between the diamond and its metal setting. Over time, this film scatters light instead of letting it bounce cleanly through the stone in the way that produces a diamond’s characteristic brilliance and fire, which is what makes earrings look cloudy, greasy, or “flat” instead of bright.
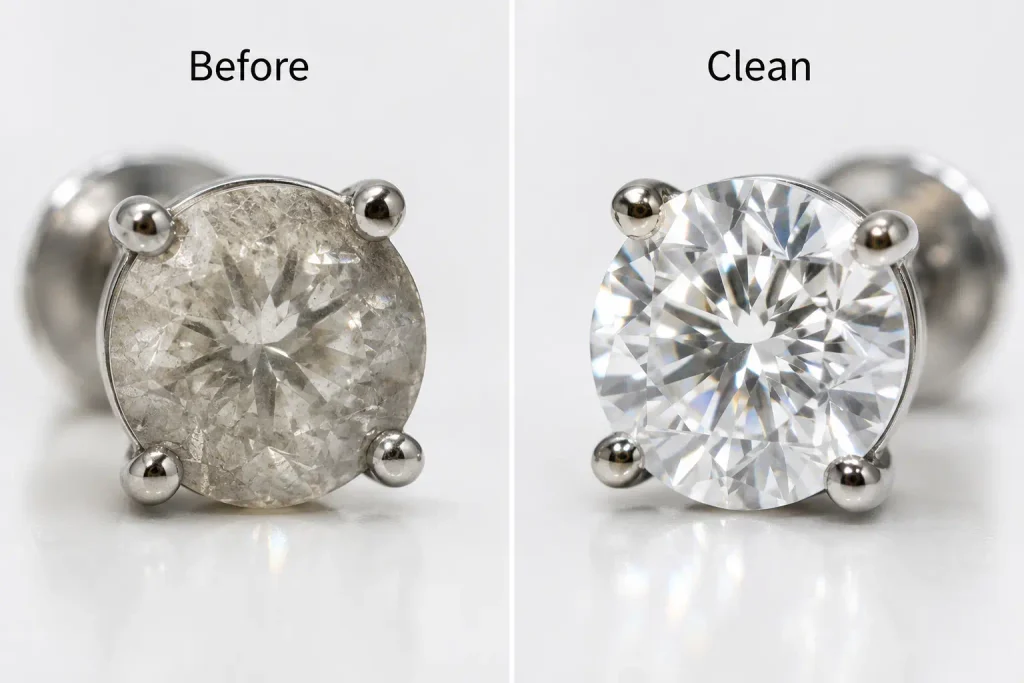
Everyday Exposure
Lotion, perfume, hairspray, sweat and natural skin oils reach the earrings.
Residue Builds Up
Oil and product residue cling to the diamond and its setting.
Brilliance Drops
The buildup scatters light and makes the diamond appear flat or cloudy.
The earring back and post area is often the worst offender, since it sits closest to the skin and collects the most oil, dead skin cells, and product residue. This is also the part most people forget to clean.
The Safest At-Home Method (Soap and Water Soak)
Nearly every reputable jeweler and gemological authority — including the Gemological Institute of America (GIA) — recommends some version of the same basic approach, because it’s gentle, effective, and low-risk for both the diamond and the metal setting.
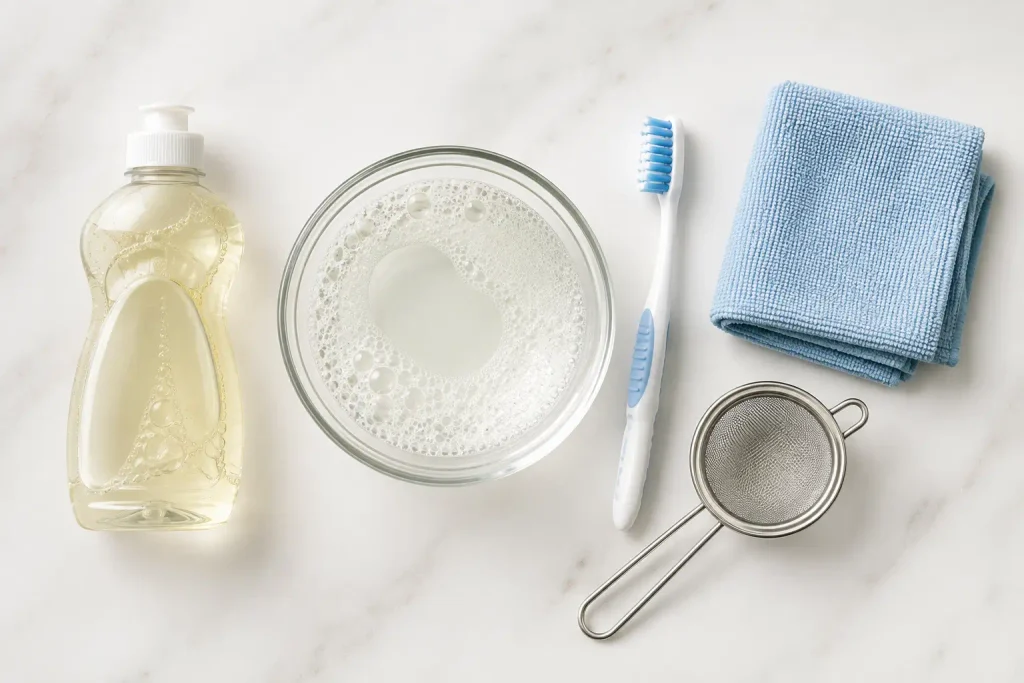
What you’ll need:
Steps:
Set up on a flat, towel-lined surface — never over an open sink.
Diamond earrings are small, and losing one down the drain is the single most common accident during at-home cleaning. Plug the drain or lay a towel down as extra insurance.
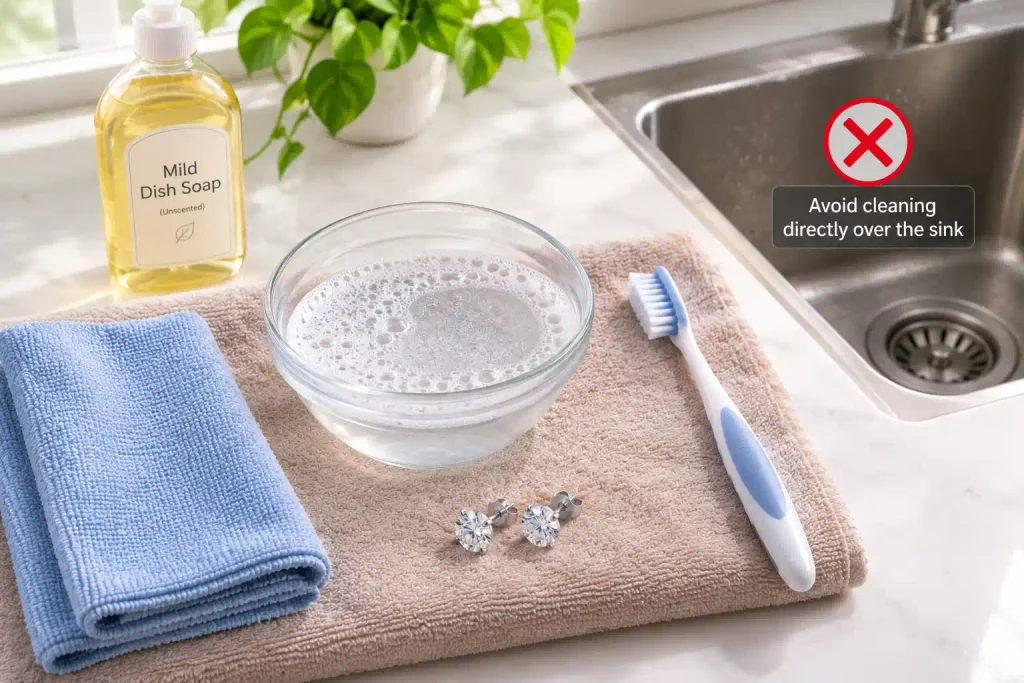
Mix the solution.
Fill the bowl with warm water and add a few drops of dish soap. Avoid scented or dyed soaps, since added fragrance and color can leave their own residue.
Soak the earrings for 15–20 minutes.
This gives the soap time to loosen oils and debris without any scrubbing.
Gently brush around the setting.
Use the soft toothbrush to clean around the prongs, the back of the stone, and the earring post, where buildup collects most. Light pressure is all that’s needed — diamonds don’t scratch easily, but aggressive scrubbing can loosen a stone in an already worn setting.
Rinse thoroughly.
Rinse under running water using a strainer, or rinse into a bowl of clean water rather than directly over the drain.
Pat dry with a lint-free cloth.
A microfiber cloth works well and won’t leave fibers caught in the setting. Let the earrings air-dry fully before storing them.
Most jewelers suggest doing this every 2–4 weeks for earrings worn regularly, or weekly if you wear them daily, since piercing sites and earring backs pick up bacteria along with oil.
Is Isopropyl Alcohol Safe to Use?
Yes — a 70% isopropyl alcohol solution is a good option, particularly for disinfecting the earring backs and posts, since it evaporates cleanly and kills bacteria without leaving residue. It’s a useful addition to the soap-and-water method rather than a replacement for it: use soap and water to lift oils and grime, then a quick wipe with alcohol on the posts for hygiene, which matters more for earrings than for other jewelry since they sit directly in a piercing.
What to Avoid
A few common household “hacks” show up online for cleaning jewelry, and it’s worth knowing why they’re not a good idea for diamond earrings specifically:
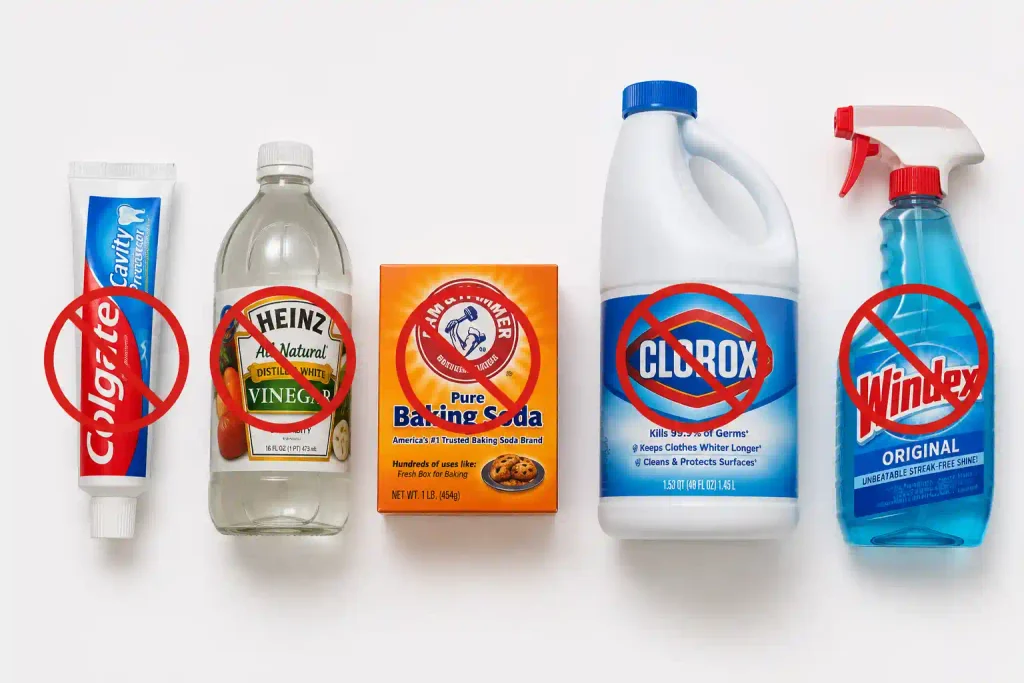
Toothpaste.
It’s abrasive by design (that’s what makes it good at removing plaque), which means it can scratch metal settings and dull the polish on softer metals like gold and silver over time.
Vinegar and baking soda.
Both are commonly recommended for cleaning gemstones in general, but they can be too harsh on precious metal settings, particularly plated or delicate pieces, and can react poorly with certain metal alloys.
Chlorine-based cleaners and ammonia-heavy household cleaners like Windex.
These can pit, discolor, or weaken metal settings — gold alloys in particular are vulnerable to chlorine damage, which can make the metal brittle over time.
Hydrogen peroxide.
It’s sometimes used on jewelry in dilute form, but stronger household concentrations can be too aggressive for regular use on fine jewelry settings.
Hot water.
Warm is fine; boiling or very hot water can stress certain diamonds and any adhesives used in some settings, and can also damage softer accent stones if your earrings combine diamonds with other gems.
If your earrings pair diamonds with other stones like pearl, opal, emerald, or turquoise, treat the cleaning method based on the most delicate stone in the piece, not the diamond.
Can You Use an Ultrasonic Cleaner?
This is where the answer gets more nuanced, because it depends heavily on the setting and the stone, not just the fact that it’s a diamond. An ultrasonic cleaner works by using high-frequency sound waves to create microscopic bubbles in a liquid bath — a process called cavitation — which dislodge dirt from tiny crevices that a toothbrush can’t reach.
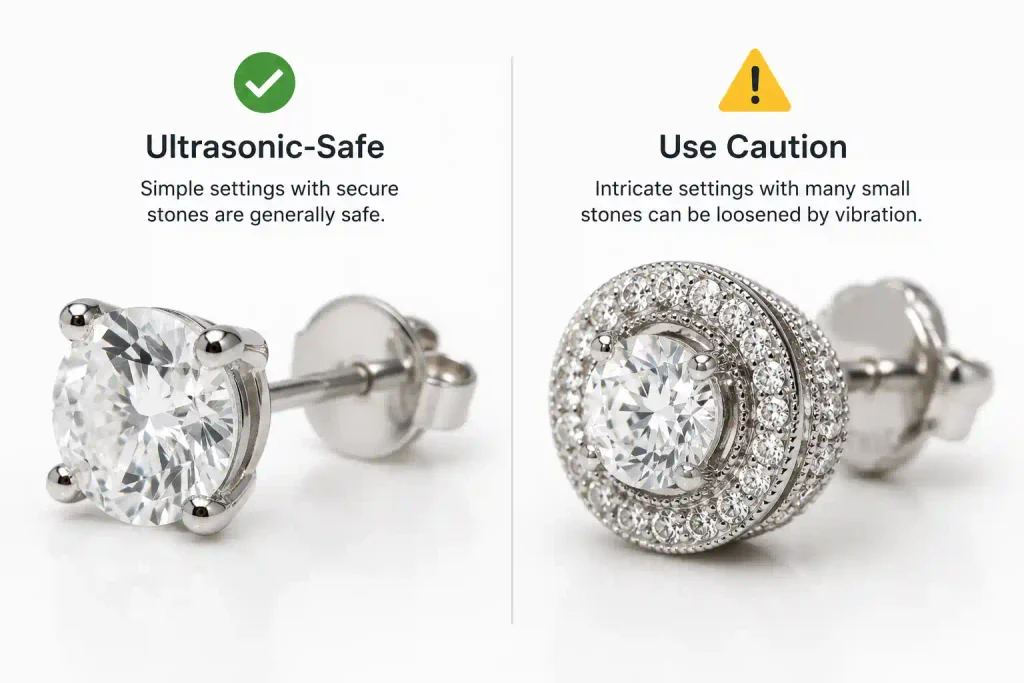
Generally safe for ultrasonic cleaning:
- Solid gold or platinum settings in good condition
- Securely set, untreated diamonds
- Simple solitaire-style studs with a single prong-set stone per earring
Proceed with caution or avoid ultrasonic cleaning for:
- Pavé, micro-pavé, or halo settings with many small stones — the vibrations can, over repeated use, loosen tiny prongs holding melee diamonds in place
- Fracture-filled or clarity-enhanced diamonds — the GIA notes that the glass-like filler used to improve clarity in treated diamonds can be damaged by ultrasonic vibration and heat
- Older or heirloom earrings — years of wear can already weaken solder joints and prongs, and ultrasonic cavitation can accelerate that fatigue
- Earrings with other gemstones mixed in — opal, pearl, emerald, turquoise, and tanzanite are all considered high-risk for ultrasonic cleaners, since the vibrations and heat can crack or cloud these more delicate materials
If you do use a home ultrasonic cleaner on simple diamond studs: inspect the setting first under good light or a loupe, use short cycles (2–5 minutes) rather than one long one, avoid heated settings if your unit has that option, and don’t let the earrings rest directly on the bottom of the tank. Check the prongs again afterward, and if you ever notice a stone feels even slightly loose, stop using the ultrasonic cleaner and have a jeweler check the setting.
Signs You Should See a Professional Instead
At-home cleaning is meant for routine maintenance, not repair. Take your earrings to a jeweler rather than cleaning them yourself if you notice:
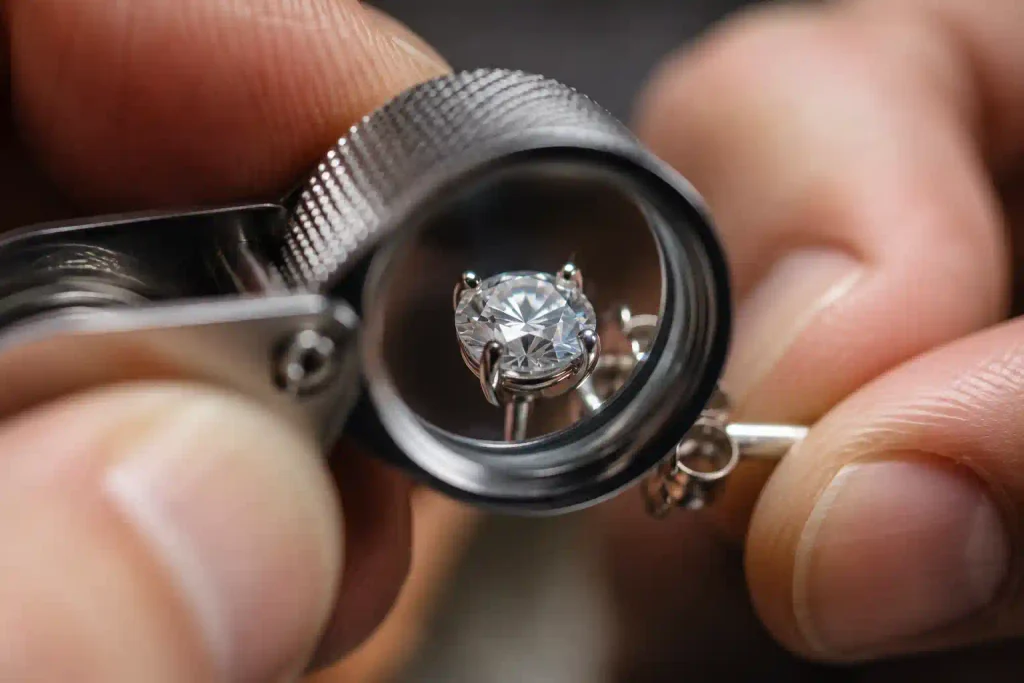
Most jewelers offer a quick professional cleaning and prong check for free or at low cost, and it’s worth doing this once or twice a year even if you clean your earrings regularly at home, since a jeweler can spot early setting issues before you lose a stone.
Storage Tips to Keep Them Cleaner, Longer
A lot of the buildup on diamond earrings actually happens in storage, not just while wearing them:
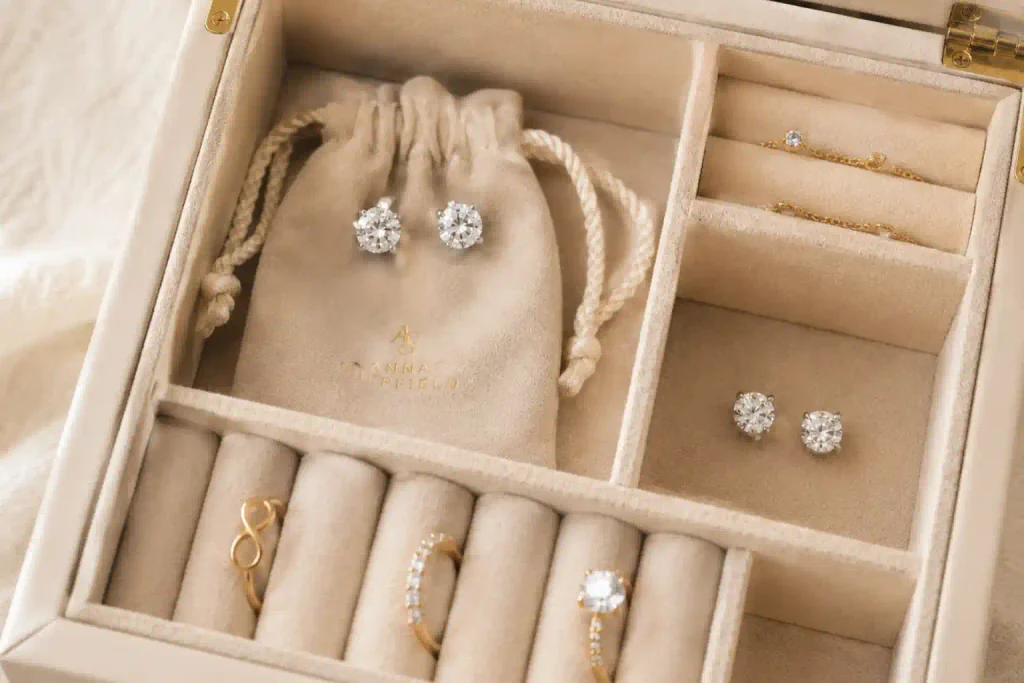
Store earrings in a soft-lined pouch or a jewelry box with fabric compartments rather than loose in a drawer, which reduces surface scratching that can trap dirt in micro-abrasions.
Keep them separate from other jewelry so metal settings don’t scratch against each other.
Let earrings dry completely before putting them away — trapping moisture next to metal can encourage tarnish, especially on silver or plated settings.
Take earrings off before applying lotion, perfume, or hairspray where possible, since this is one of the biggest sources of the residue that dulls diamonds in the first place.
The Bottom Line
Diamonds are remarkably tough, so the actual risk in cleaning diamond earrings almost always comes from the setting and any other gemstones involved — not the diamond itself. A simple soak in warm water and mild dish soap, followed by a gentle brush and a proper dry, is enough to keep most diamond earrings looking bright for years. Save the ultrasonic cleaner for simple, sturdy settings, skip the harsh household chemicals, and let a professional handle anything that involves a loose stone or a worn prong.
Most Asked Questions
01 Is it safe to shower, swim, or sleep with diamond earrings on? +
The diamond itself isn’t damaged by water, but the metal setting is the vulnerable part. Regular exposure to water, steam, chlorine, and shower products can gradually weaken settings and speed up wear on the metal, and soap or shampoo residue builds up on the stone and dulls its sparkle. Chlorine specifically can react with metal alloys and weaken settings over time, which is why jewelers generally recommend removing diamond earrings before swimming or hot tubs. Sleeping in them regularly also increases the chance of a post bending or a back loosening without you noticing.
02 How often should diamond earrings actually be cleaned? +
For earrings worn daily, weekly cleaning helps remove the soap film, lotion, and product buildup before it hardens into visible cloudiness. For earrings worn occasionally, cleaning every 2–4 weeks, or before/after a special occasion, is usually enough.
03 Can toothpaste be used to clean diamond earrings? +
No. This is one of the most common myths in DIY jewelry care. Toothpaste is mildly abrasive by design, which is fine for tooth enamel but can scratch metal settings and dull the polish on gold or silver over time.
04 Is it safe to clean diamond earrings with alcohol? +
Yes — a 70% isopropyl alcohol solution is safe and effective, particularly for disinfecting the posts and backs, since it kills bacteria and evaporates without leaving residue. It works well as a hygiene step alongside (not instead of) a soap-and-water clean.
05 Can I put diamond earrings in an ultrasonic cleaner? +
It depends on the setting, not just the stone. Simple, securely set solitaire diamonds in solid gold or platinum generally do fine. But pavé settings, fracture-filled or clarity-enhanced diamonds, older/heirloom pieces, and earrings mixed with softer stones like opal, pearl, or emerald are all considered risky, since the vibrations can loosen small prongs or damage more fragile materials.
06 Why do diamond earrings look cloudy even right after cleaning? +
If cloudiness persists after a proper soap-and-water clean, it’s often a sign the residue is trapped underneath the stone rather than on the surface, or that there’s an issue with the setting itself. This is one of the clearest signals to see a professional rather than keep cleaning at home, since it can indicate a problem a jeweler needs to inspect under magnification.
For more jewelry guides, care tips, and buying advice, check out the rest of the collection over at TnaFlix.